This page contains instruction on how to build a first lib-gwt-svg project using Eclipse 3.5 and the GWT eclipse plugin
step 1
Download the latest version of lib-gwt-svg-<version>.jar and store it somewhere on your disk
step 2
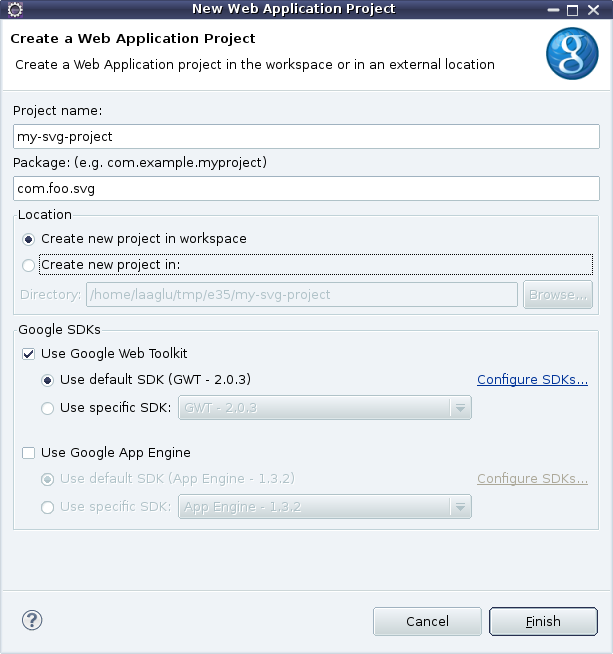
Create a GWT Eclipse project as instructed here: http://code.google.com/webtoolkit/usingeclipse.html
step 3
Right-click on the project node in the Project Explorer and select ‘Properties > Java Build Path > Libraries > Add External Jar …’. Select lib-gwt-svg.jar-<version>.jar.
step 4
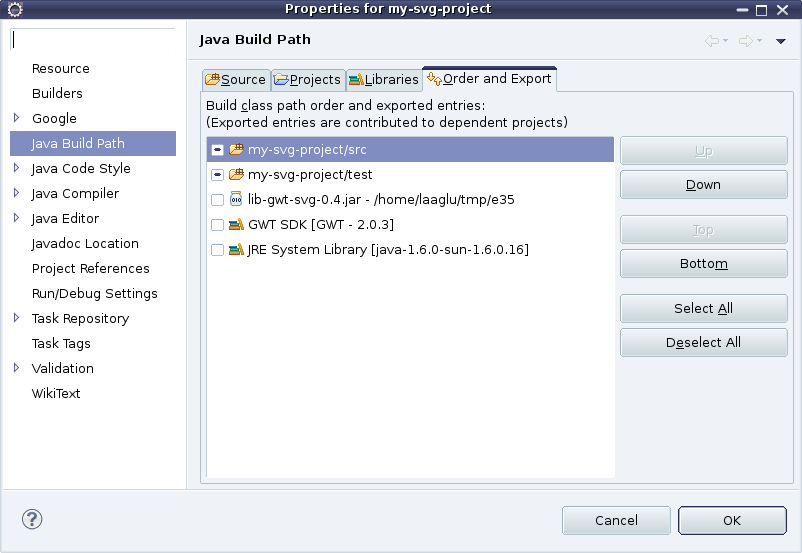
In ‘Properties > Java Build Path > Order and Export …’, make sure lib-gwt-svg-<version>.jar appears before the GWT SDK. If this is not the case, select lib-gwt-svg-<version>.jar and use the Up button until it is properly placed.
step 5
Add lib-gwt-svg to the list of modules of your GWT project. To do this, edit the my-svg-project/src/com/foo/svg/My_svg_project.gwt.xml to add these lines:
<module rename-to='my_svg_project'>
...
<inherits name='org.vectomatic.libgwtsvg'/>
</module>
step 6
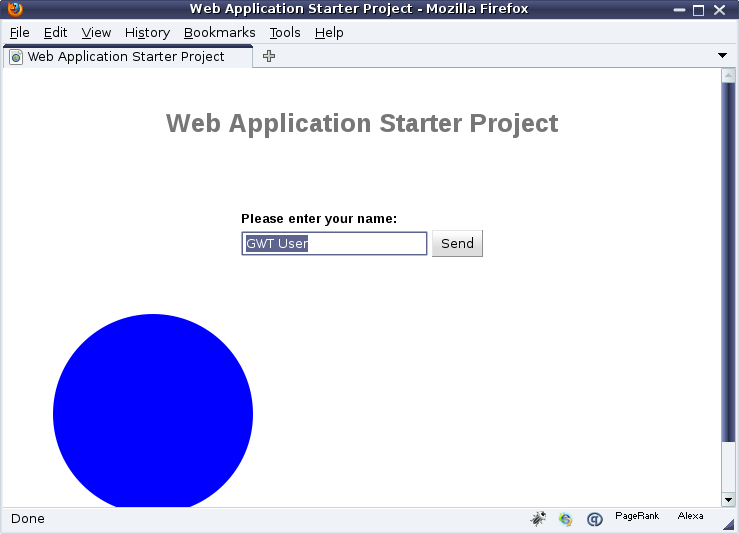
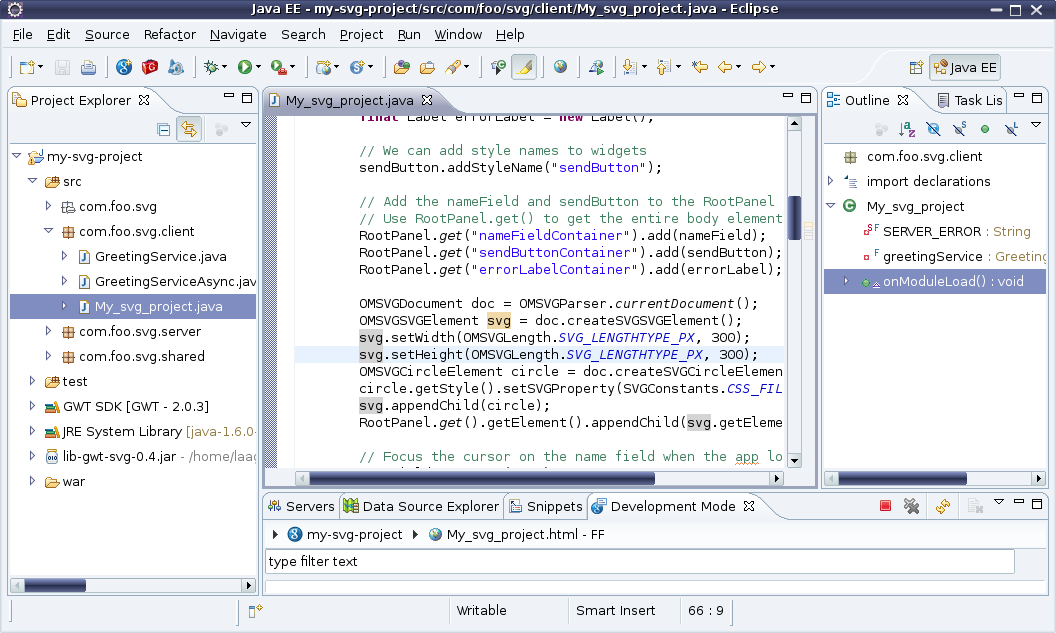
Edit the my-svg-project/src/com/foo/svg/client/My_svg_project.java to add these lines. They will add a large blue circle to the sample UI.
OMSVGSVGElement svg = doc.createSVGSVGElement();
svg.setWidth(OMSVGLength.SVG_LENGTHTYPE_PX, 300);
svg.setHeight(OMSVGLength.SVG_LENGTHTYPE_PX, 300);
OMSVGCircleElement circle = doc.createSVGCircleElement(150, 150, 100);
circle.getStyle().setSVGProperty(SVGConstants.CSS_FILL_PROPERTY, "blue");
svg.appendChild(circle);
RootPanel.get().getElement().appendChild(svg.getElement());
step 7
Select your project node and select Run the project by Run > Run As > Web Application